TLDR
Open Unreal’s SceneView.h and change the default value of bCameraMotionBlur to false.
If you’re using Unreal, you’re probably aware of the engine’s history and how it started as an engine for first-person and third-person action games. And while Unreal is used for all sorts of games nowadays, the engine is often built around assumptions that are usually true for shooters and adventures, but not necessarily for other genres. The good news: If you encounter any cases where the original developers made assumptions that aren’t true for your game, there’s usually a way to change the engine as needed, and sometimes, these changes can be very simple if you know where to look. Often, the original developers were aware of how certain features may need adjustments and added ways to change their behavior, even if they aren’t exposed in the editor. Motion blur is one of these features.
Motion blur in Unreal (and every other engine) works by calculating the screen-space velocity vector of objects per pixel and blurring the rendered frame along this vector. Screen Space is an important detail in this context: Velocity isn’t caused by objects moving through the game world, it’s caused by objects moving relative to the camera. Therefore, motion blur also occurs when the camera is moving, even if every other object in the game world is static. This behavior makes total sense for most games, as it mimics how motion blur works in the real world. And since the camera is usually bound to a character moving through your game world, it moves at a reasonable speed.
In RTS games, city builders and so on, this isn’t the case anymore. The camera is not representing the POV of a character or is constrained by any physics. The camera in these games is something abstract, it doesn’t try to mimic the behavior of a camera drone or a helicopter. The only priority is to reduce friction for the player. If your harvesters in Command & Conquer get attacked, you want to move the camera over there as fast as possible, and because the camera isn’t bound to real-world physics, that’s quite fast.
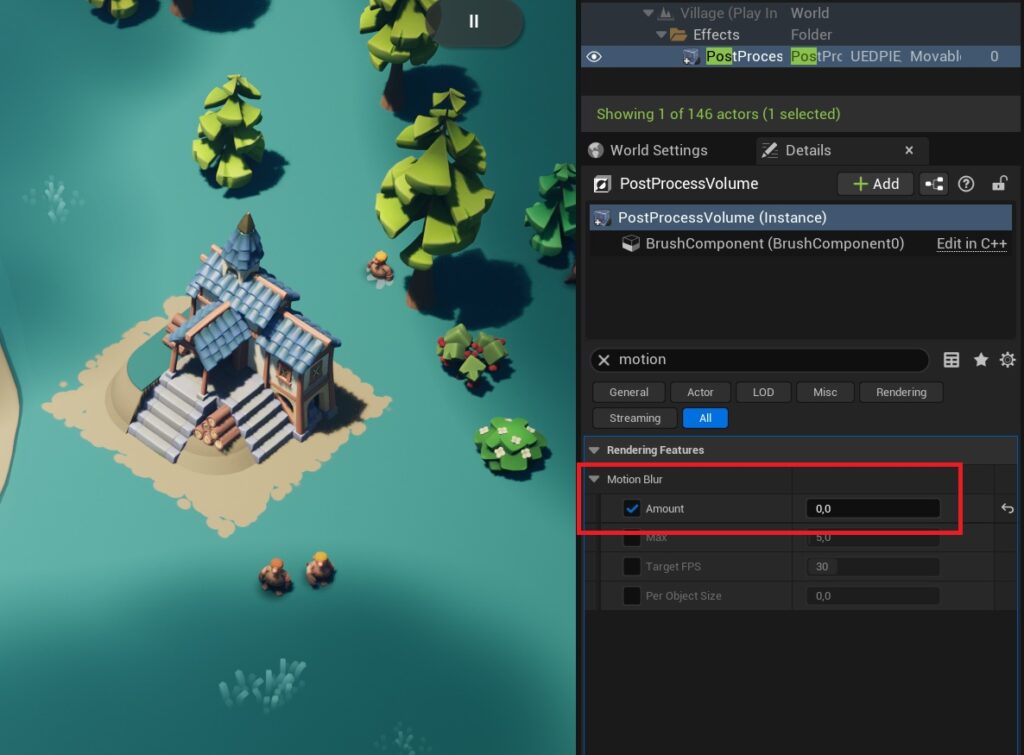
Sadly, this means that when using Unreal’s default motion blur, the whole screen just becomes a blurry mess whenever you move the camera at a slightly higher speed. That’s why the Cropout Sample Project has motion blur disabled completely:
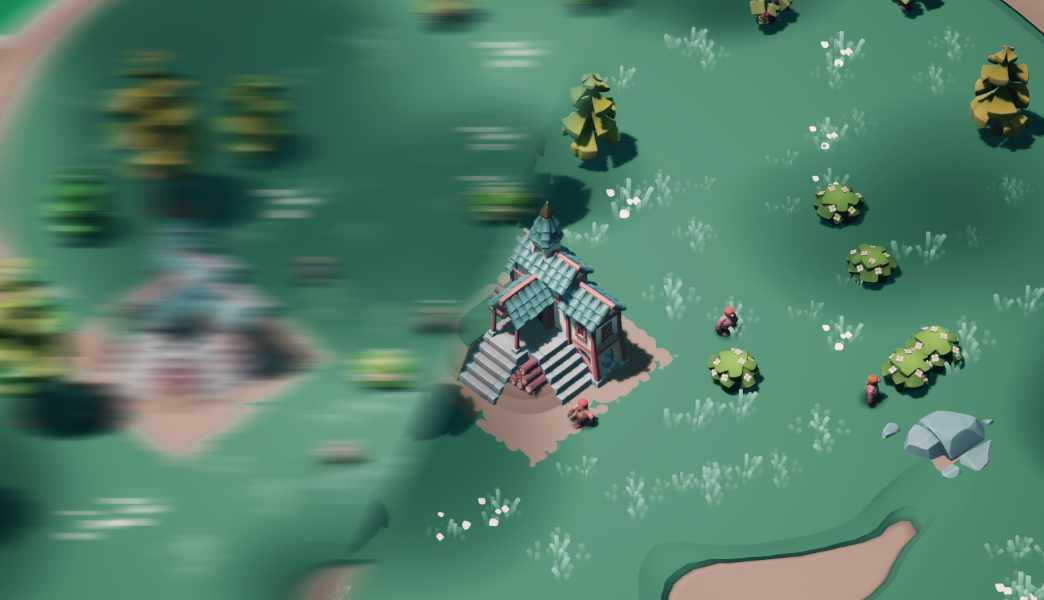
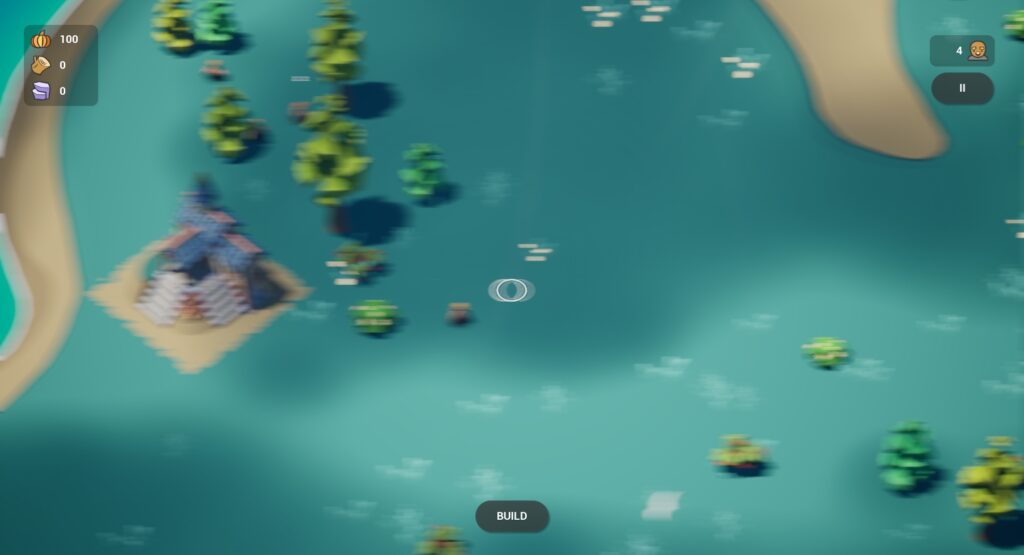
When enabling the motion blur again, i doesn’t take long to understand why it was disabled. Every time the camera moves, the frame becomes a blurry mess:
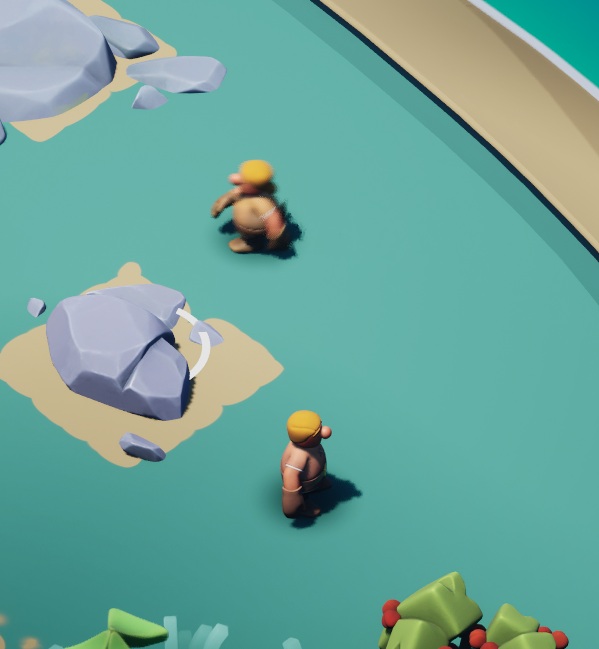
On the other side, motion blur does look great on moving characters:
So let’s get the best of both worlds: Motion blur for moving objects, but a sharp image regardless of camera movement. Luckily, Unreal does have an option to remove the camera motion blur. To do this, it calculates the per-pixel velocity based only on the camera motion and subtracts this velocity from the original one. This option can be enabled or disabled per scene view. So technically, you can disable or enable it in your game at any given point. But I’m assuming here that if you need to change this option for your game, you want to change it globally anyway, and aren’t interested in changing it for specific scene views. Therefore, I’ll only describe how to change the defaults. Unreal creates different Scene Views for in-game views, the editor, scene captures, thumbnail renderings, etc, so dealing with all these use cases does add more complexity than I’m willing to deal with if, as long as I don’t have to.
To change the default values, you need to change the engine’s source code. If you’re using a precompiled version of the engine, that’s not easily possible. But luckily, there’s a workaround: While the engine binaries are pre-compiled, the shaders aren’t, so you can still adjust the motion blur shader as needed. Below, you’ll find both options described. But if you do compile the engine yourself, I do recommend the first one, since it’s less hacky and disables the camera motion blur using the intended way and the parameter that was actually created to do exactly this.
Option 1: Change the SceneView’s Default Properties
To do this, you need to build Unreal yourself, so that you can change its source code. Open ...\Engine\Source\Runtime\Engine\Public\SceneView.h, and change
TOptional<bool> bCameraMotionBlur;to
TOptional<bool> bCameraMotionBlur = false;SceneView.h is one of these headers that a lot of other classes depend on, so now is the time to start a new build and get some coffee. Once you have the editor started again, move the camera around. You’ll notice that both in the editor and in compiled games, camera motion blur doesn’t exist anymore. If you ever need it again, you can still enable it for each scene view specifically.
Option 2: Change the Shader
Open …\Engine\Shaders\Private\MotionBlur\MotionBlurVelocityFlatten.usf and search for the function PreprocessVelocityForMotionBlur. Remove the condition
if (bCancelCameraMotion) around the line
Velocity -= CameraMotionVelocity;Re-start the editor, and notice how the camera motion blur has disappeared.
Note: There’s a constant set in the shader called CAMERA_MOTION_BLUR_MODE, right at the start of MotionBlurVelocityFlatten.usf. That constant seems to be a remnant of an earlier implementation, as I couldn’t find an instance of this constant being used, so just ignore it.